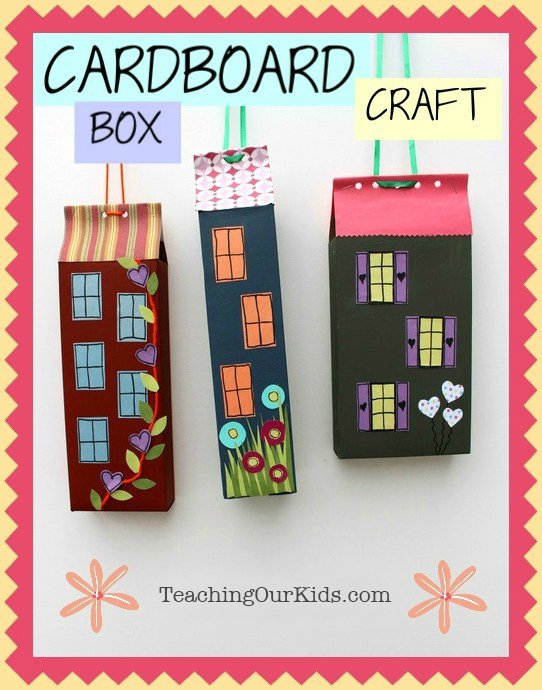
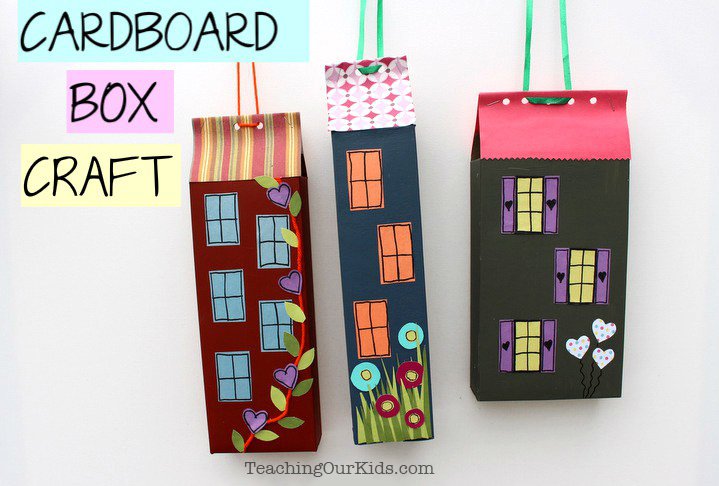
How to make a cute and colorful cardboard box building
Supplies needed for this craft:
- craft glue
- scissors
- small cardboard box (cookie or cracker box)
- acrylic paint
- construction paper (I used red, yellow, and purple) and/or recycled paper
- pencil
- black marker
- stapler
- a piece of string, ribbon, or yarn (any color you want)
Step 1: Paint a cookie/cracker box with acrylic paint and wait until it dries. In the meantime, cut two or three rectangular pieces out of purple construction paper and two or three rectangular pieces out of yellow construction paper. Glue the yellow piece of construction paper on top of the purple one approximately in the middle (see picture below).
Next, take a black marker and outline the window: shades and the glass as shown in the picture below. Add another one or two windows.
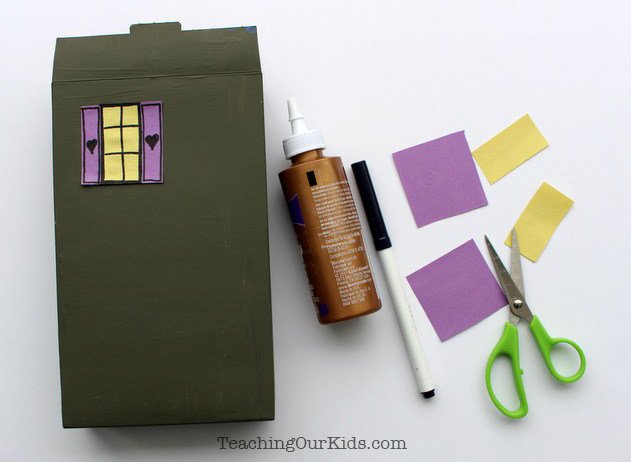
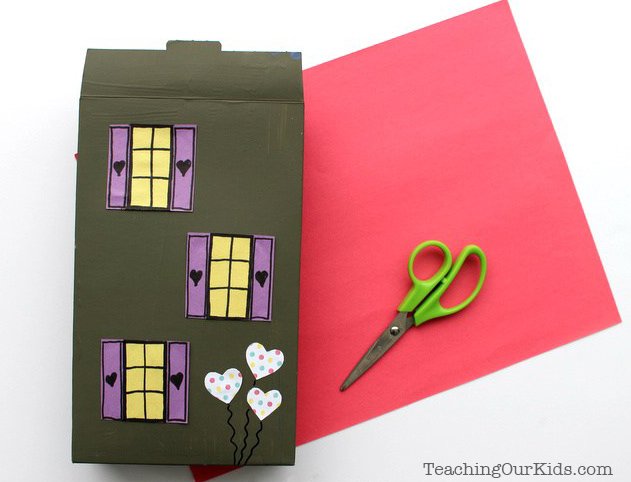
If you wish, you can add other things such as hearts or flowers. I added three hearts, as shown in the next picture.
Step 2: Time to work on the roof now. Cut two equal red pieces out of construction paper. The length of the red piece should be around 6 inches. You will need a little extra to be able to fold and staple the pieces together.

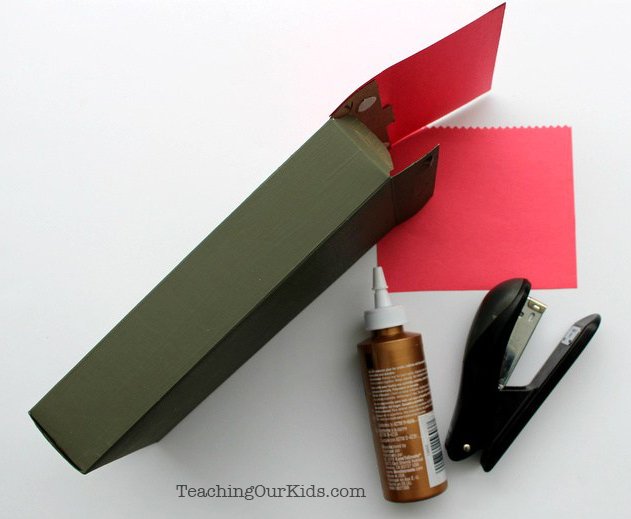
Step 4: Fold over the two red pieces of paper and staple them together close to the edges (see picture below).
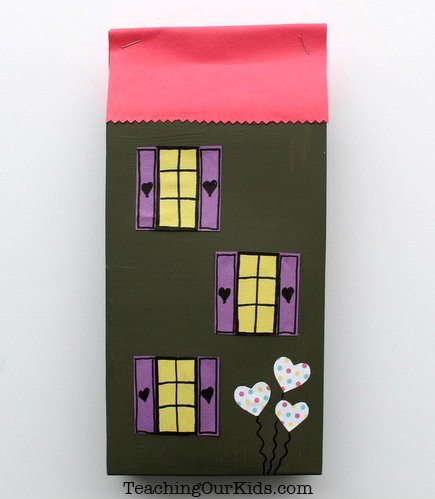
Step 5: Use a hole punch to make a few holes at the top so that you can put a ribbon (or some string) through.
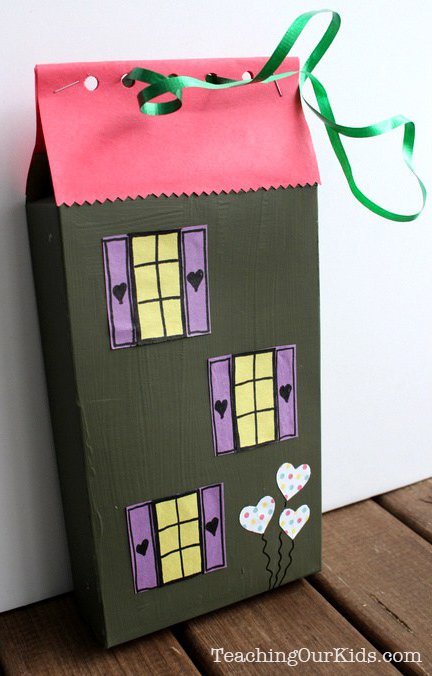
Now you can hang your beautiful creation in your room! Also, it’s a great gift idea.
